
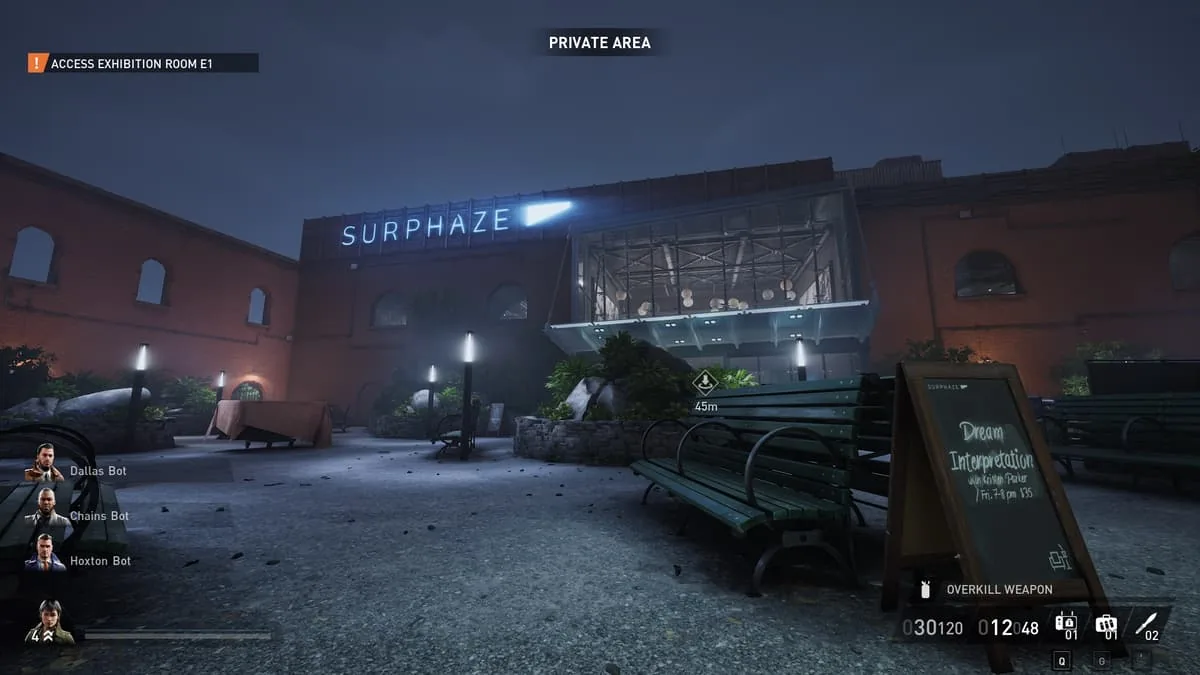
To earn the PAYDAY 3 True Connoisseur achievement, steal the painting by Shanda Latrell in Under the Surphaze on Very Hard or above. If no achievement notification appears after pickup, deliver the painting to the designated escape vehicle and complete the heist. Bring at least three players for the coordinated sculpture pickups, and keep the attempt in stealth until someone has collected the secret painting. The route involves matching sculptures to the manager's miniatures, collecting them together, revealing an office button, and reaching the painting before securing it as loot.
Requirements and what counts toward the achievement
Choose Very Hard or a higher difficulty before starting your attempt, since the listed objective specifically includes that difficulty condition. The requirement to steal every artwork from the seven exhibitions belongs to Art Critic, a separate achievement that some guides cover alongside this one. For True Connoisseur, focus your planning on the Shanda Latrell painting and its sculpture puzzle rather than treating a complete gallery clear as the listed requirement.
At least three people are needed because the puzzle calls for players to collect three different matching sculptures at approximately the same time. Agree on a shared countdown before the pickups, and make sure everyone understands that opening a display case is different from taking its contents. A Zipline Bag appears as a recommended convenience in the combined achievement guide, but it is not part of True Connoisseur's stated objective.
Scout the manager's miniatures and matching sculptures
Visit the manager's office and examine the three miniature sculptures on the desk, using their shapes as the references for your search. Find the full-size versions in the exhibition rooms and check that each sculpture matches its miniature exactly, because some alternatives look similar. Record the showroom containing each correct sculpture so the team can return to the right displays when it is time to coordinate the pickups.
The supplied guides recommend using a reconnaissance attempt to locate the objects, then restarting from the pause menu to begin the planned run. They describe these heist resets as retaining the same instance or seed, which lets you use the locations you recorded during that scouting pass. Treat this as the documented pause-menu restart method; the advice does not establish that leaving and launching an entirely new heist preserves those locations.
Prepare exhibition access while staying in stealth
The preparation route starts upstairs, where you find the security room and take out its guard and answer his radio call to take the gallery's cameras out of play. Collect QR codes from phones to open exhibition rooms, while keeping roof entry in mind as an alternative access route for some rooms. These access options help you reach the matching sculptures, but they do not replace the separate work of disabling the security inside the exhibitions.
Interact with the upstairs wall panel and complete its circle activity to disable the security bars in the upstairs exhibition rooms. Open the rooms and switch off their power circuits to deactivate laser grids without raising an alarm as you prepare the sculpture displays. For downstairs exhibitions, continue in stealth, use the panel activity to disable their bars, and turn off room power where possible before the coordinated collection.
Collect the three matching sculptures together
Prepare the relevant display cases before asking anyone to collect a sculpture, since the cases can be opened ahead of the synchronized pickup. Assign a teammate to each of the three matching sculptures and wait until all of them are ready at their own display. Use a countdown in chat so the players take the sculptures together, rather than letting someone collect theirs while the others are still approaching.
The coordination guidance allows pickups at around the same time; it does not provide a precise timing window that you need to measure. After collecting the sculptures, you can drop them somewhere safe or secure them as loot instead of continuing to carry them. The coordinated pickup enables the next office interaction, so return to the manager's office to reveal the hidden button behind the middle painting.
Reveal the button and position the painting collector
Move the middle painting in the manager's office after the sculpture step to expose the button concealed behind it, but coordinate before pressing it. The secret painting room is between Showrooms 2 and 3, giving the collector a specific destination while another teammate handles the office interaction. Pressing the button unlocks the painting's casing and activates lasers in that room, so the order of these actions matters for the approach.
For the documented shortcut, send a teammate directly in front of the Shanda Latrell painting before the office player presses the button. Once the collector is in position, activate the button and have that teammate loot the painting from its newly unlocked casing. This positioning avoids the approach through the activated laser grid; it does not establish a laser-free exit if you intend to preserve stealth afterward.
Use camera guidance if you take the laser route
If you approach through the activated grid, place a teammate in the security room to guide the collector using the security-camera view. The footage shows red directional arrows indicating the route, allowing that teammate to give verbal directions to the player moving through the room. Follow the marked path carefully and keep movement tight and straight, rather than trying to improvise a crossing through gaps in the lasers.
The IGN guide warns that touching a laser during this approach immediately raises the alarm and prevents you from looting the painting. That warning makes the pickup the crucial dividing point: keep stealth intact until the painting is actually in a player's possession. After collecting it, a player who wants to remain undetected must navigate back through the grid, either reversing the route or using the parkour exit described in the guide.
Secure the painting in the van or helicopter
Once you have the painting, the documented route permits going loud, so an alarm after the pickup does not carry the same consequence as an alarm before it. You can instead preserve stealth and sneak the loot to the escape van, which the preparation guide describes as the easier option. If you choose to break stealth after obtaining the painting, signal the helicopter and use that extraction route to secure the loot.
If no achievement notification appears after pickup, deliver the painting to the designated escape vehicle and complete the heist. IGN describes picking up the painting as enough to unlock the achievement, but a TrueAchievements player reports the unlock after depositing it in the van. A Reddit user reporting on the Steam achievement says carrying the painting was insufficient and the unlock appeared after helicopter delivery. These reports do not establish a single notification trigger for every platform and version.