
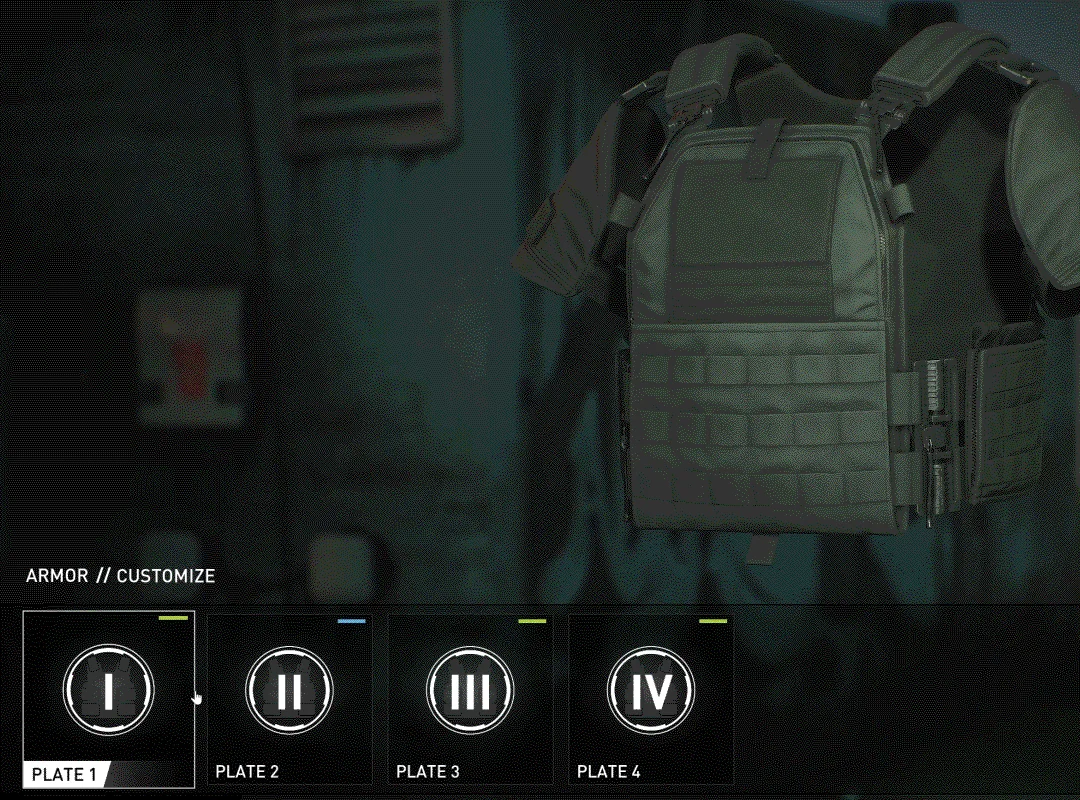
PAYDAY 3 Armor 2.0 lets you choose a frame and then equip the plates it supports. The frame determines your slots and passive benefits, while the plate type determines what happens when armor takes damage or breaks. Impact plates can recover after breaking, Adaptive plates can refill while intact, and Resistant plates mitigate damage while accumulating trauma. Choose the combination around how often your route gives you time to recover and whether your crew can supply repairs. Armor 2.0 launch · Starbreeze’s plate overview
Compare the six armor frames
Medtech is the original one-slot frame for mobility or recovery based on First Aid Kits. Specialist has two slots and is a practical choice when a second tool contributes more than heavier armor would. Saboteur has three slots and is the original throwable-oriented frame. Mercenary has four slots and suits a loadout that can keep those plates supplied through a sustained fight. Starbreeze’s original frame comparison · Frame cards reproduced by the community
The two newer frames arrived in update 3.6 through the Crimebonds. Vanguard has two Resistant plates, no speed penalty and a passive that lets kills restore trauma. Survivalist has three flexible slots and five downs, and its passive makes First Aid Kits more useful. Check the current loadout card for any other penalties or benefits before copying a variant that depends on the exact number of downs, movement speed or consumable slots. Vanguard and Survivalist in update 3.6
Mercenary is worth separating from old Skills 2.0 advice. Update 3.1 fixed an issue where other frames inherited the four-slot frame’s brief damage resistance after a plate broke. Read praise of light setups from the bugged patch in that context, especially if a clip appears to show the player surviving fire immediately after a break. Choose the frame based on the passive the current card shows and on what your route actually needs. Mercenary interaction fix in update 3.1
Choose how your plates recover
Resistant gives you damage reduction while the active plate has armor available. Some incoming damage becomes trauma, which is the portion of an active plate that ordinary regeneration does not refill. Pausing behind cover can recover the temporary portion but leaves that persistent damage until you repair it or trigger a relevant passive. This works best when you can afford to maintain armor during the run. Plate design · Trauma mechanic
Adaptive can refill completely if it remains intact long enough to recover. Once you lose the plate, you need a restoration source for the broken layer. The difference is most noticeable when you can reliably step back while a little armor remains, such as between two trips through the same room. Update 3.2 fixed Adaptive armor failing to recharge completely when taking armor from a bag. Adaptive repair fix in update 3.2
Impact can return even after a full break, provided there is a sufficient gap in damage. It gives up the damage reduction of the other types, so it offers less immediate protection if you keep taking fire. Multiple plates can extend the recharge delay; read the assembled frame’s recharge value after choosing the plates rather than relying on one plate’s description. Try it on a route where you can reliably pause, and include a backup for an objective where that pause is rare. Impact plate demonstration
Check plate order, downs and equipment
After editing the frame, review the plate order in the preview. An Impact plate at the front can take the first hit of a short exchange and recover while you move out, leaving the rest of the frame available for longer pressure. A frame using several Resistant plates instead needs a plan for trauma across multiple exchanges. For an example of a mixed setup with armor bags, see the shotgun loadout. Starbreeze’s armor-design examples
Downs are the chances your loadout gives you to go down before the custody rules take effect. They are a separate number from the amount of intact armor, so restoring a plate and restoring a down answer different problems. Read the final values for the entire combination, as armor cards and older screenshots may show different values. If you want a skill that can return a down, Bounty Hunter Ace requires a marked Dozer killed with a Handgun. Survivalist’s down count · Bounty Hunter revision
Repair armor or preserve health
An Armor Bag goes in the deployable slot and is useful when you need repeatable armor restoration at a chosen spot. Armor Repair Kits are a separate source of armor recovery that you can use when the game offers one. First Aid Kits restore health and can have a frame-specific bonus, as on Medtech and Survivalist, while Medic Bags serve the wider medical setup. That distinction matters when one blue armor layer breaks but the health bar is still full. Armor bags and kits in the official patch notes · The 3.6 frames
Check the HUD before spending a supply. If a recoverable Impact layer has just broken and the next objective can wait, move into cover long enough to see whether it returns. If the problem is lost armor that your plates cannot recover automatically, save a repair for a moment when you can finish the interaction. Adrenaline and healing explains what the temporary health reserve can do while armor is missing.
Pick armor for the route you are playing
For a stealth loadout, start with Medtech when movement matters or with Specialist when the gadget plan uses the frame’s extra tool. If the heist has a likely loud fallback, consider whether your frame still lets you reach cover and keep completing objectives after the alarm. An Impact plate is a reasonable starting choice when there are frequent gaps between fights. Try the frame on the intended route once before adding extra weight or changing the tool it was selected to support.
For sustained loud objectives, compare Mercenary with a repair-backed setup and Survivalist with a health-oriented setup. Vanguard rewards a player who can keep getting kills while holding ground; its passive gives little help during an objective that takes you out of combat. Switch one frame or plate at a time and compare the same objective, difficulty and supply plan. If enemies take too many hits even while your own armor is holding, use the enemy armor and weapon penetration comparison to evaluate your offense separately.
Recheck your armor after a patch
Equip the armor variant in the same loadout slot that you will select at ready-up. Update 3.10 fixed both a case where armor changes in the lobby were lost and a case where opening the armor modification screen from Variants produced an empty menu. If you use a saved loadout, reopen its armor details, confirm the plate order and then check the armor HUD at the start of the heist. Keep the rest of the equipment fixed when comparing the variant to your previous version. Armor loadout fixes in update 3.10