
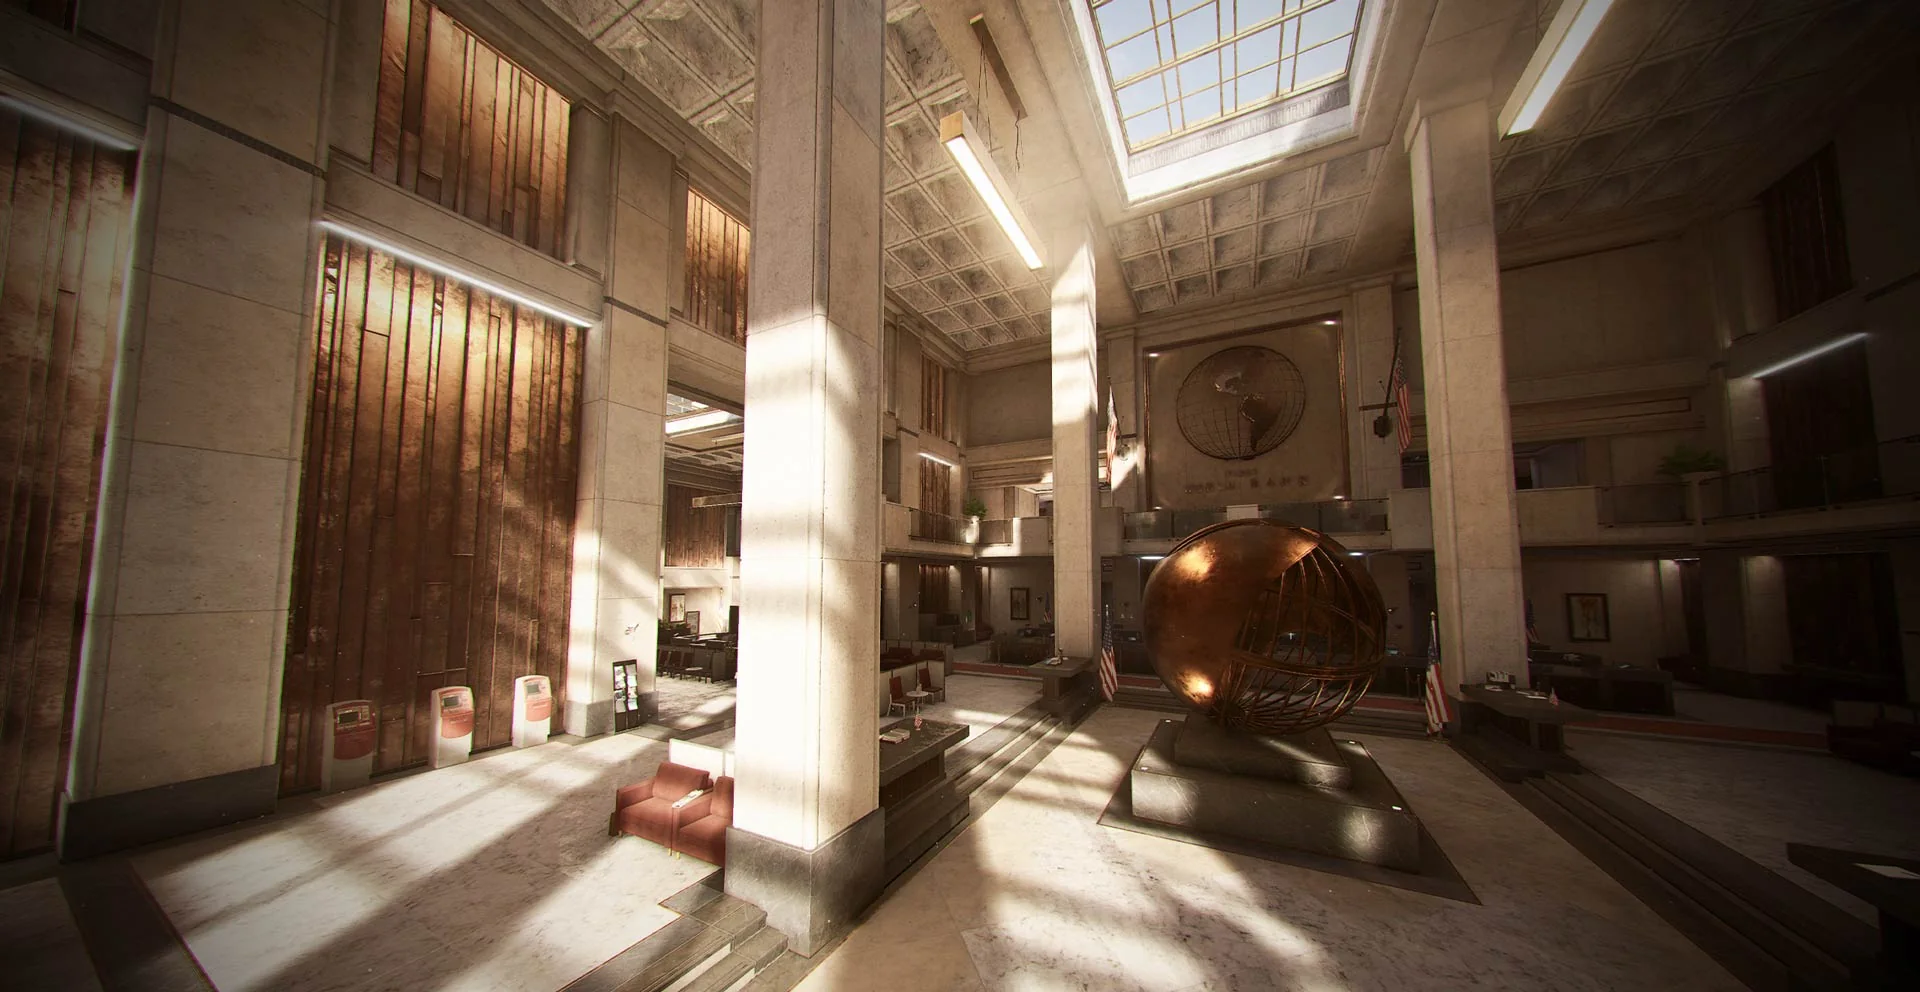
In PAYDAY 3 First World Bank, look for the red keycard in the lobby and upstairs office area or on a guard, then use it at the manager’s office. The blue keycard and the vault security computer can be at a front desk in the vault area or in the office above the vault. The separate RFID tag has been found on desks around the two gates, while the metal detector puzzle begins with the controller beside the active gate and leads you through one color match at a time.
Find the insider and the server room first
Start from the bank lobby and check which side of the building the run is using for the room and gate objectives. Look for the white bear statue to recognize the insider’s office, then talk to him and collect his USB drive. Find a phone with a QR code if you do not already have one and use the QR reader at the server room. Inside, use the marked server to complete the insider’s first objective and watch for the next prompt. Official heist overview · Route and room variants
The manager’s office and server room change location between layouts, including across floors. Keep track of door labels and readers as you go: the server room’s QR scanner, the red reader at the manager’s office, and the vault area’s late-stage reader belong to different steps. If the marker is across the building, use it to orient yourself before committing to a stairwell. This is a separate mission from the bank in the No Rest for the Wicked walkthrough, which has its own keycard and switch logic.
Where the red keycard can appear
Check the reception and teller-side desks on the entrance level first, including the shelving near the reception area. If the card is not there, go upstairs from the right side of the lobby and look at the desk next to the employee at a computer, then inside the adjacent meeting room near the shelves and presentation board. Players have also found the card on a patrolling guard, on desks near the gate and in the QR-locked staff area, so check the available areas before repeating the same circuit. These are documented candidates and a search order, since a single fixed spot would miss the alternate runs. Player observations and landmarks · Red card routes
Match the red card to the manager’s office reader. Once the current objective calls for a code, use the manager’s terminal and read the presented codes, then return to the insider for the next step and collect the cart stickers when he offers them. Follow the insider to the gate with the keypad and iris scanner, and wait for the game to confirm the current interaction before moving through. A terminal you happened to pass in the lobby is unrelated to the manager’s code step unless the mission marks it.
Metal detector controller and four switch boxes
Look next to the active gate for the detector controller, then read the color it requests for the current box. Sweep the bank wall panels along the left and right approaches using the marked target, open the active box, and flip only the matching color. Read the updated request after every accepted switch before you move to the next box, since copying a complete color order from a video can send you to a wrong switch. The standard documented sequence uses four boxes, and an Overkill walkthrough gives a separately filmed route showing the order of interaction. Switch guide · Overkill walkthrough
A lobby Favor called Metal Detectors Disabled can bypass the normal detector task when it is equipped and active for that run. On higher difficulties, be prepared for lasers deeper in the secure route after you pass the gate; those are a different obstacle from the entrance detector. If an alarm turns the heist loud, stop searching for a working colored panel and follow the new objective. Starbreeze disabled interaction with these switches in Loud, so the missing prompt at that point is expected. Official switch change
Keeping the bank's left and right variants straight
The launch-era Steam reports distinguish the street-facing left office wing from the upstairs meeting room on the right, and both reports also mention a guard or a desk as possible sources of the red card. Set your left and right reference before you go inside, since a teammate coming back down the stairs may be facing the opposite way. If you find a candidate desk, call out the floor and the nearby room label so everyone can eliminate the same location. Steam player observations
The detector controller is worth checking even when the current text tells you to flip switches, because a firsthand launch report found the boxes easier to identify after starting the controller. The same thread describes a vault computer on a lobby desk with a guard nearby, so the desk candidate can be less obvious than the upper office. Official patch notes also record changes to laser patterns and the QR door above the vault, which are reasons to check the actual layout on a current build. Detector and console observations · Patch 2.0.1
Blue keycard, RFID tag and the vault computer
Search the front desk in the vault approach and the office above the vault for the blue keycard and relevant computer. Look for the card pickup and the computer’s active interaction for the vault timer, even if both candidates look like ordinary staffed desks at first. Use the blue card and the marked computer as the objective requests and confirm the timelock has progressed before you look for more equipment. The blue card is shown separately from the manager’s card in the recorded Overkill run. Blue card and vault computer
The separate RFID tag has been reported by the desks near the vault entrance gates, including by the detector, and goes with the matching RFID reader displayed by the objective. An RFID-equipped door and the blue-card vault step may both be described as blue, so read the item type and the reader prompt separately. Update 3.2 added objective text that states the needed card or RFID color. If your blue item does not advance the timer, go back to the vault-area desk or upper office and look specifically for the blue keycard and its computer. Tag observations · Reader prompts in Update 3.2
Confirm the terminal by what it does
The server-side terminal is used for the insider’s USB early in the run, and the manager’s office terminal returns codes later. The security computer for the vault is the one tied to the timer after the keypad and iris-scanner gate. If you see multiple monitors, aim at the likely one and read its current interaction instead of assuming every screen responds. In co-op, have the player with the blue card meet the teammate who found the computer so both actions can be checked together.
Why a step may look stuck
If the computer used for the first objective responds only to the USB, that is the server stage. If you are still waiting for the insider or for the gate prompt, finish that stage before looking for the blue card or trying a random computer. If the detector or timer changed state but your teammate missed the message, compare the shared objective before anyone activates another switch. Raising the difficulty adds more pressure during route checks, so a first pass on a lower setting can help you learn what each stage looks like.
Mark the carts and follow the escape objective
Inside the vault, use the supplied stickers to mark the money carts and transfer the bags to the marked carts as the game requests. After the quota registers, use the indicated security checkpoint and go down toward the parking area and the waiting transport. In stealth, check for the extraction prompt before assuming the bags alone have completed the run. For the loud route, the official overview describes randomized security doors and a different final route through the neighboring building. Official stealth and loud routes
On a repeat, compare the red-card floor, detector gate and blue-card computer with your last run. Leave once the required amount and the exit are confirmed. The heist list can help you choose another stealth route.