
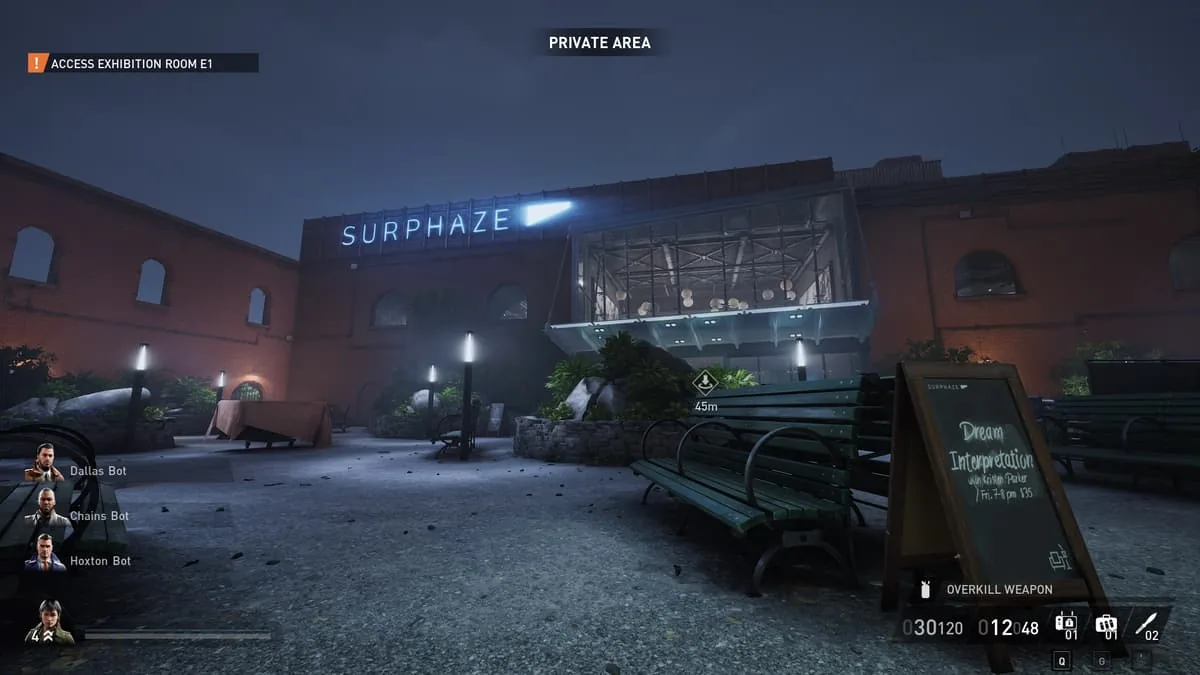
To complete PAYDAY 3 Under the Surphaze, take the Greg Jud painting in E1, both Pedro Vicario paintings, and the genuine Uma Ladette. Read the manager’s emails to find the target exhibits, start the gallery’s security controls for both floors, then bring the hidden USB drive and the server room spectrophotometer to the Ladette display. Secure the required paintings at the marked van in stealth or bring them to the rooftop helicopter when the heist goes loud.
Enter the gallery and open a dependable route
Start by identifying the entrance you can use without crossing a watched room. E1 is a useful early landmark because it contains the first required painting and can also be part of your entrance route. While moving toward the offices upstairs, look for scannable phones in places such as the bar, behind reception, restrooms and staff rooms. Keep the QR scans for doors you still need to open, and use the exhibit labels to tell which rooms give access to the target paintings. Firsthand stealth route
The Manager’s Office, Server Room and Security Room can move between runs, so read the name at each door rather than expecting the same room from a recording. An upper exhibition room can also have a skylight approach; check where you will land and look for active lasers before dropping down. If you can reach the camera controls without losing your route, the security room offers a way to manage camera coverage. Stay aware of guards and the individual exhibit alarms afterward. Gallery walkthrough
Read the manager’s computer and start both security panels
Find the Manager’s Office on the upper floor and interact with its computer to read the messages for your run. Note the room numbers for the two Vicario paintings and both Ladette candidates, then inspect the office for the concealed safe behind the wall panel by the desk. Take the USB drive from the safe when available, since the final painting requires it and a return trip adds another crossing. Find the Server Room by its door label and pick up the spectrophotometer before heading to the Ladette rooms.
Start the security-bar objectives for each floor as early as your route allows. Update 3.2 replaced the old Wi-Fi-circle task on this map with hacking panels, so use the marked control and the available device interactions instead of searching for circles from a launch video. A recent walkthrough describes the floor security processes as separate, with extra device hacks able to speed their progress. Watch the objective and check the bar on the intended display before you try to open it. Update 3.2 · Post-update walkthrough
Get the Greg Jud painting in E1
Return to E1 once the relevant protection lets you approach the display. Identify Greg Jud by the exhibit label and use the quiet opening interaction, then bag the painting and move it out along your chosen route. Breaking a display case now starts the alarm under the general rule documented in Update 3.2, so use the regular prompt when attempting stealth. Keep the bag somewhere you can retrieve it without recrossing the exhibit repeatedly, or secure it when the exit route is safe. Greg Jud location · Display-case rule
Identify both Pedro Vicario paintings
Use the manager’s emails to choose the exhibits for both Vicarios, since their locations can change. Once inside, handle the room’s motion sensors or protected display as the current route requires. Use the in-game ultraviolet clue to identify the pieces with the artist’s blood traces, then confirm the bag belongs to Pedro Vicario before you carry it away. Repeat in the other exhibit and check that both target pieces have registered before moving on. Vicario identification
Scan the genuine Uma Ladette before removing it
The candidate exhibits are commonly E4 and E7, but you can confirm the room numbers in the office messages. Open a route to the display and put the spectrophotometer in front of one candidate using the game prompt. Read the result, then scan the second display or move there if the first is the fake. At the genuine painting, use the hidden-safe USB on the designated interaction to disarm its protection before bagging it. Recorded route and equipment · USB sequence and scanner
The main Ladette objective is a different target from the Shanda Latrell painting used for True Connoisseur. For a regular clear, watch the names in the mission HUD and on the bags until all four main paintings are present. If you are clearing the gallery for its exhibits, follow the companion Art Critic guide after checking the requirements for that separate goal.
Plan the handoff between floors
In a team, let one player read the room assignments and relay the exhibit labels while another starts the floor security process. Whoever collects the spectrophotometer can head for the first Ladette candidate after the path is clear, while the player with the USB arranges to meet there after the scan. Solo players can combine both office steps before opening the target rooms, which reduces crossings of the atrium. Keep the exit path in mind from the first bag so optional looting does not delay the required deliveries.
Before raising the difficulty, run the same four-target route and note where you lost time or raised suspicion. Treat extra art, alarms and lobby modifiers as separate variables when you repeat it, since a full sweep asks you to cross some areas more than once. The objective markers tell you what to do after a transition to loud, including where to bring bags that had been staged for the stealth van.
Secure the art and leave by the active exit
In stealth, plan the trip to the marked van before carrying the bags outside. A Favor may give access to a dumpster drop, and a zipline may help move bags, so read the active secure marker for your route. Carry the targets first and wait for the objective to confirm they count. An unregistered bag by the van or on a teammate’s back can be the reason the exit stays closed. Stealth exit variants
In loud, keep the same four targets and follow the flare objective to the roof. Take the paintings to the helicopter as the marker requests, then stay at the extraction point until the result triggers. Update 3.4 added cover on the roof near extraction and on the street. On higher settings, confirm the current security and lobby modifiers before splitting up, and use the heist index if you want a shorter map for another practice run. Loud extraction route · Update 3.4